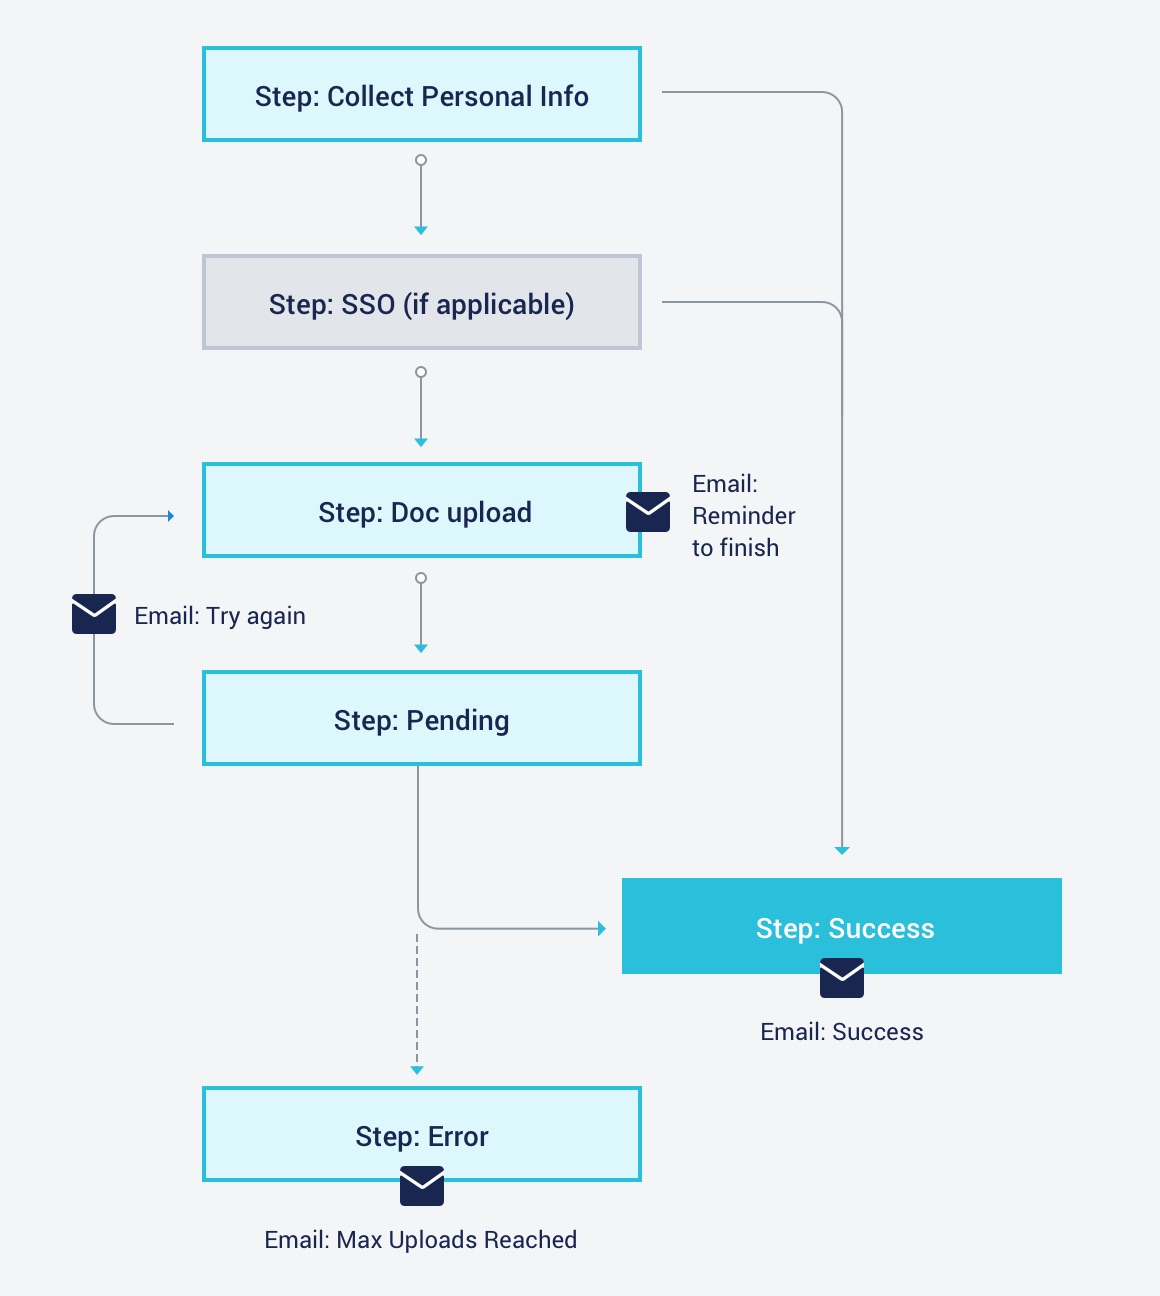
A SheerID verification happens one step at a time. Steps combine together into a flow. Step names may vary slightly depending on the audience segment, e.g., “Collect student info” vs. “Collect military status,” but the basic steps are similar from one audience to the next.
Below we will discuss the basic details of the different steps you will encounter in the verification process.

Collect Info
Collecting information from a user is the first step in a verification. This is where you render a form.
Success
Most users go straight from the collect info step to success. Typically a reward code is shown to the user on success. More seamless transitions can be achieved with JavaScript such as redirecting the user, or auto-applying a code to their cart.
Doc Upload
Instant verification may not be possible for a given user or verification type. In these cases, we will require that the user uploads documentation in order to complete the verification. Documents will be reviewed using an optimized mix of manual and automated document review.
The image below is an example of a student experience for the docUpload step, giving the user the option to upload the required documentation.
Pending
When the user uploads documentation, the flow moves to the pending step, during which time the provided documentation is reviewed to verify its authenticity and adherence to the rules of the offer.
Below is an example user experience for a student who has successfully uploaded the requested documentation.
The document review process takes some time, and you should assume that the user will not wait on your site for the approval. Provide an experience that allows them to redeem their offer from the approval email that you configured in MySheerID.
Attempts Exhausted
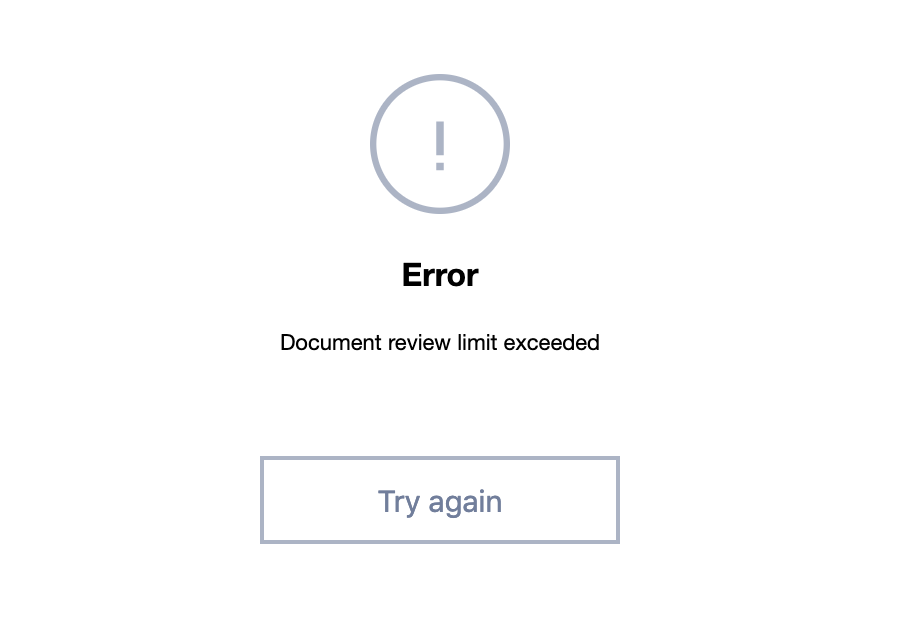
If the user fails to provide valid documentation, after 3 attempts the verification will move to the error step. At this point the verification has failed, and you must start a new verification process.

Restart Verification Button
All programs should include a restart button in the verification flow, allowing consumers to restart their verification if need be (e.g. accidentally selecting the wrong organization, mistyping their name, etc.). This button is particularly critical for customers who are storing the SheerID verificationId.